Programing ESP-8266

On the web we can find differents ways to program a ESP-8266 but in this post I’ll show you what way it works for me.
Prerequisites
- You will need a TTL to USB interface (for example FTDI FT232RL) or you could use the Arduino Uno. In this post we’ll use the Arduino UNO.
- The Arduino IDE configured for working with ESP-8266. There are a lot of tutorials about this.
ESP-8266 in programing mode
Steps to connect:
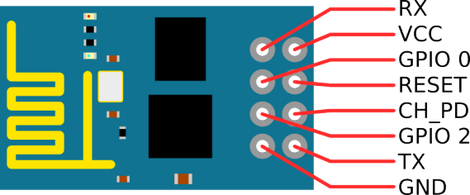
- Connect
TXtoRX - Connect
RXtoTX - Connect
VCCandCH-PDto+ - Connect
GNDandGPIO0to-Run the Arduino IDE and before upload the code you must change to programming mode: - Connect and disconnect
Resetto-. You will can see a blue light in the ESP-8266 that will indicate that you are in programming mode.
Arduino UNO
With arduino you could use the 3,3V as +, the GND as -, and the ports RX and TX for the transfer.
NOTE: It’s important that you connect permanently the
resetport to-in Arduino for program the ESP-8266.
Custom Programmer
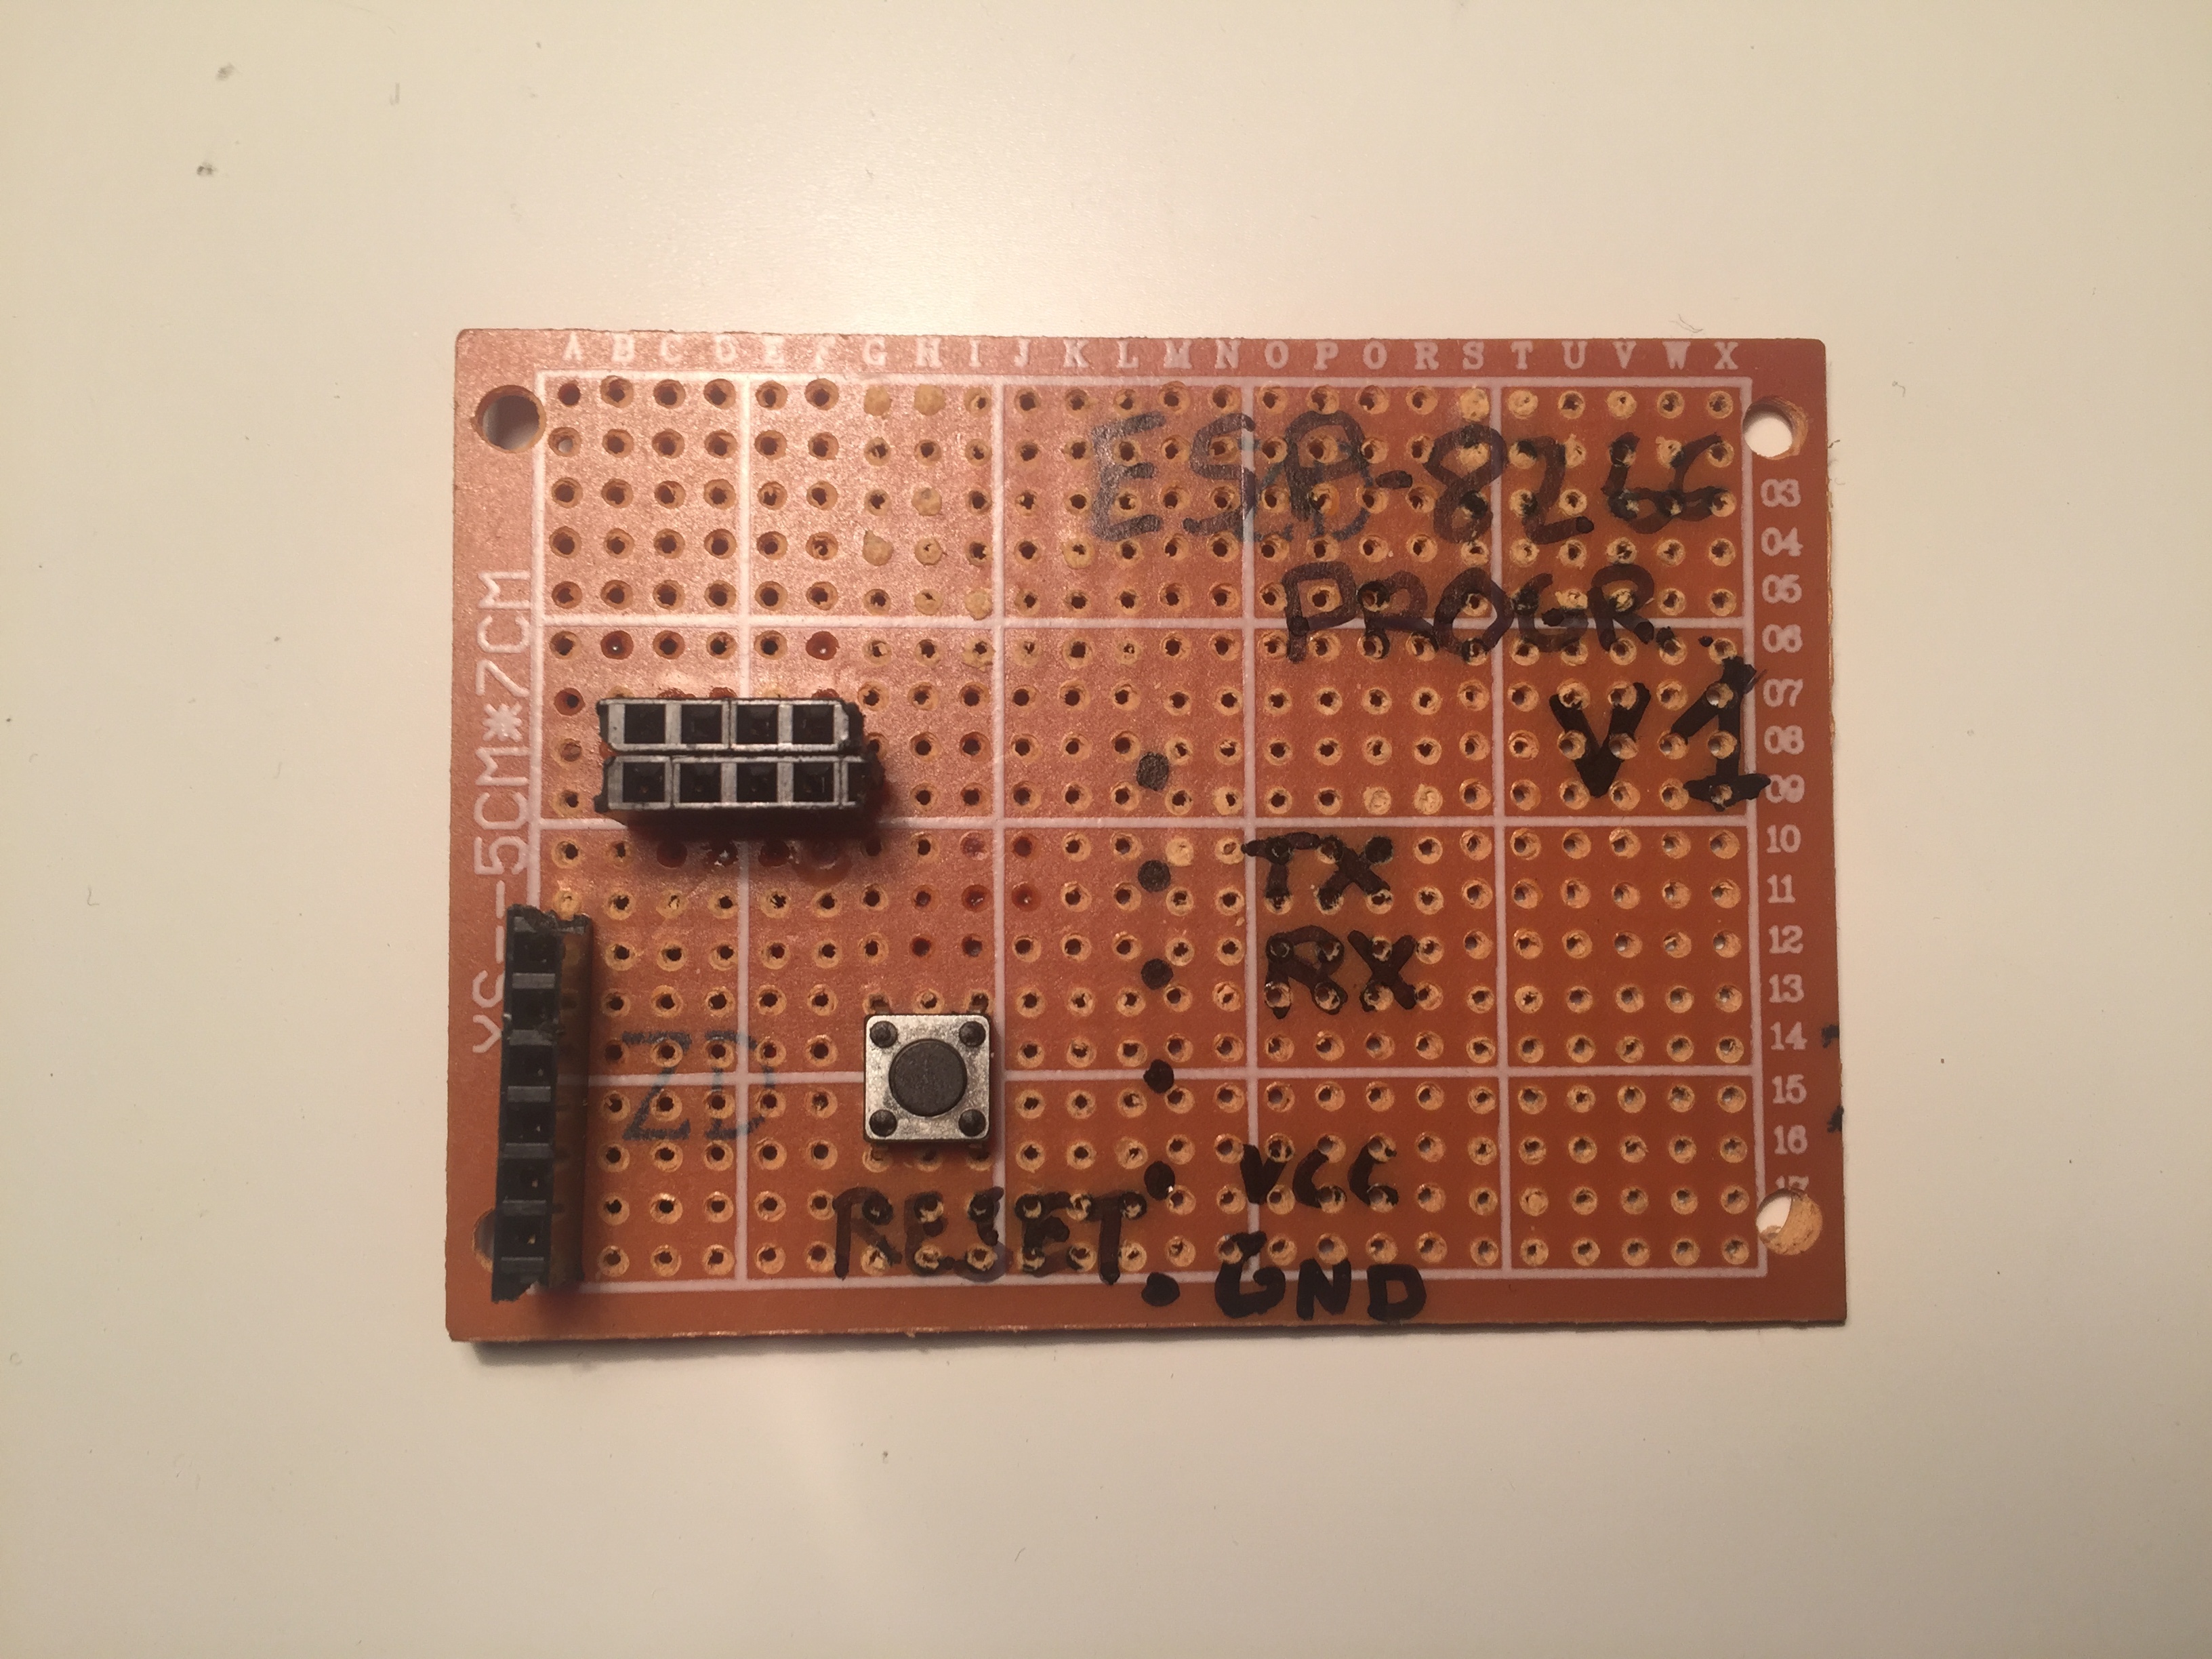
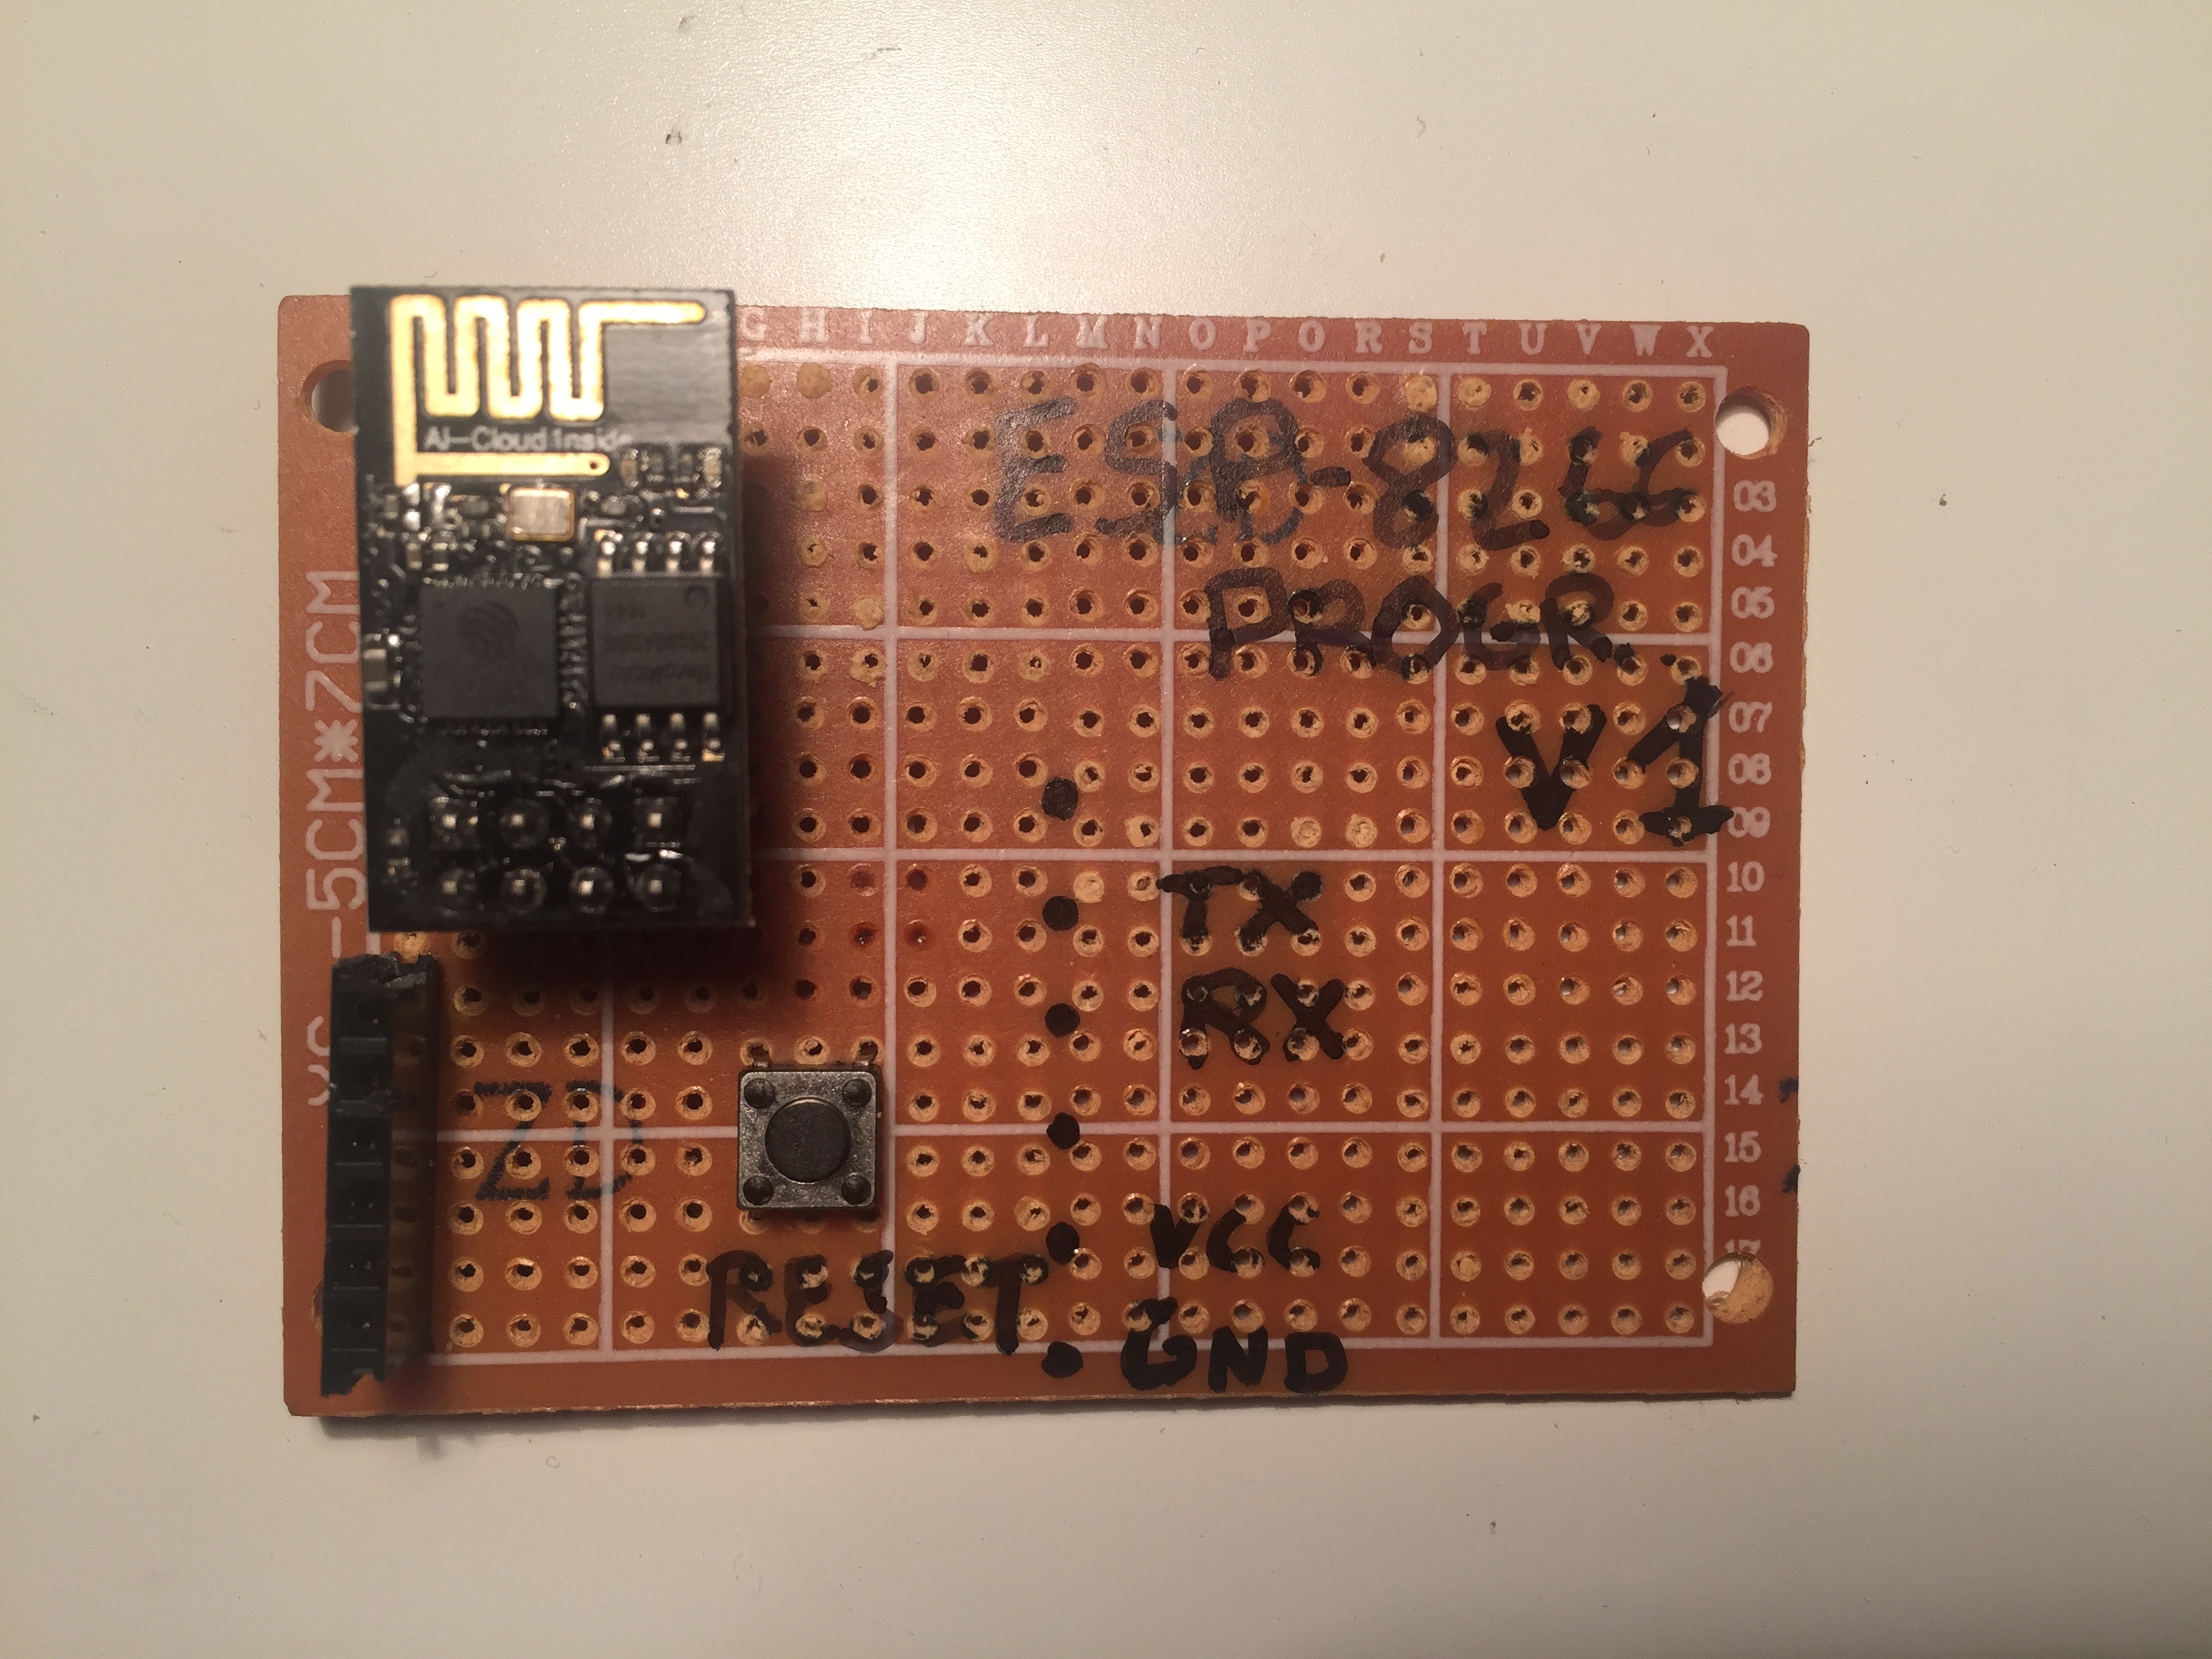
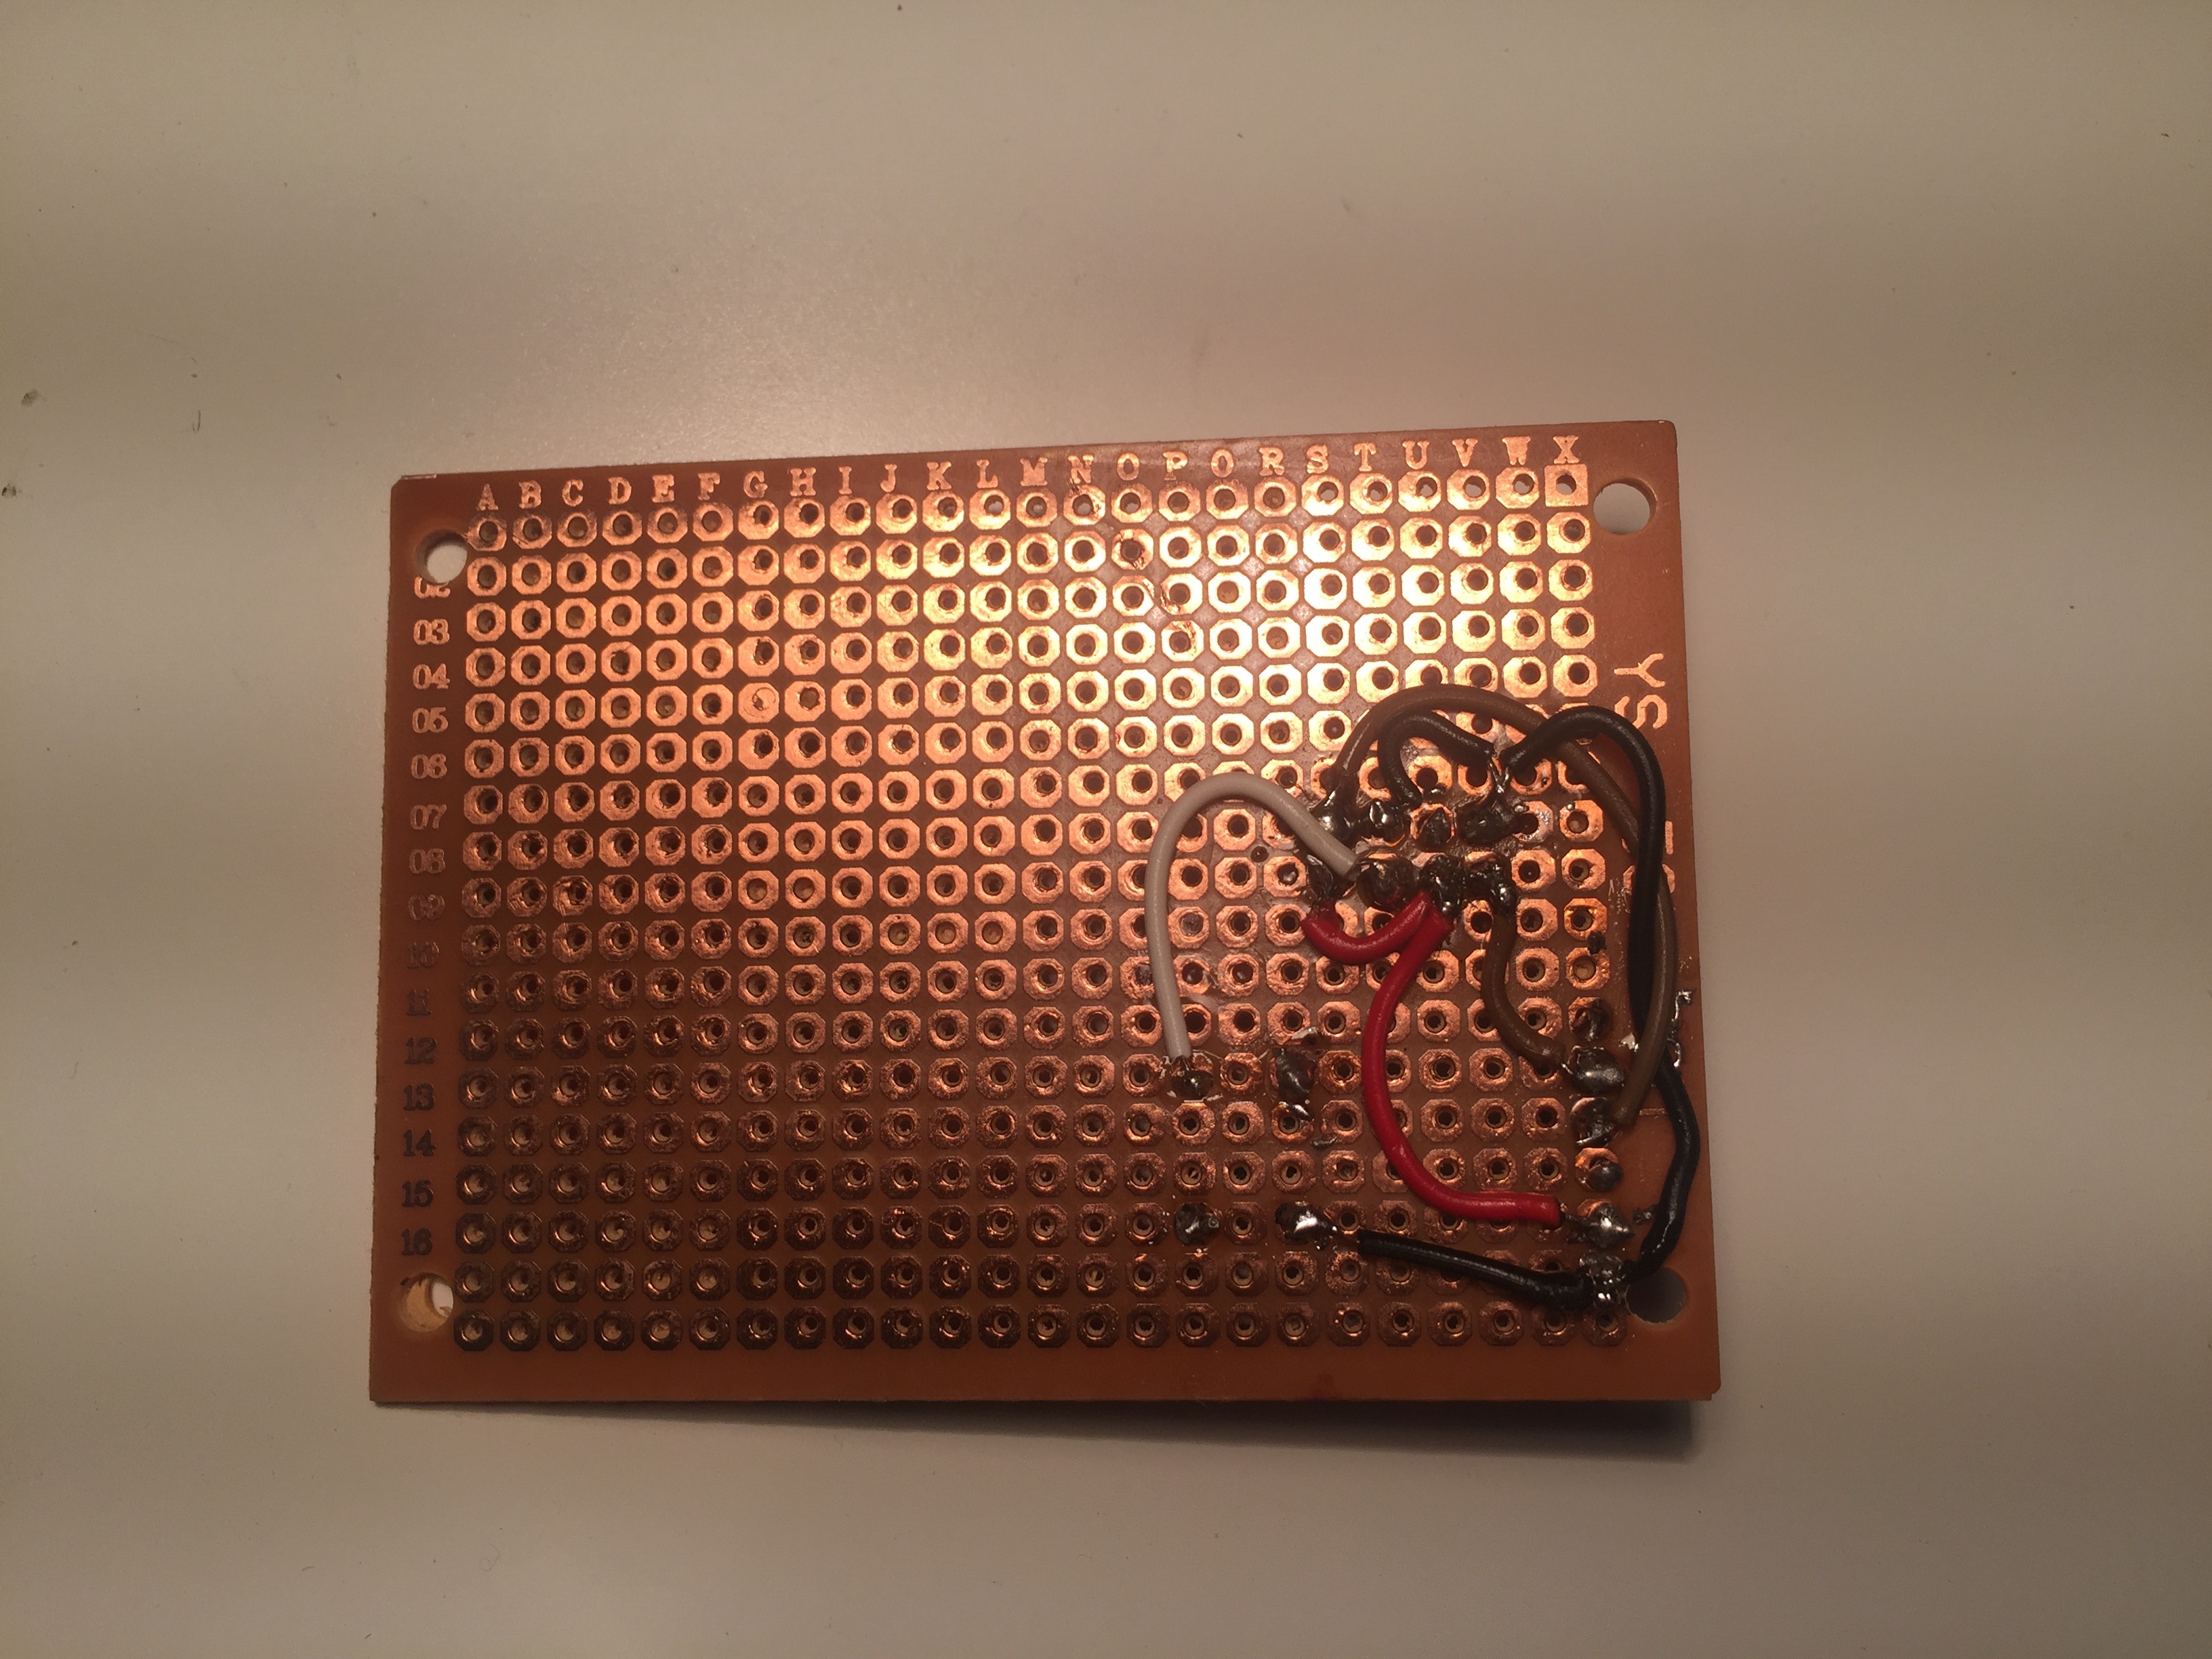
I’ve built with a board a programmer with a reset button that will ease the steps indicated before. This is the result.


 Never miss a story from us, subscribe to our newsletter